

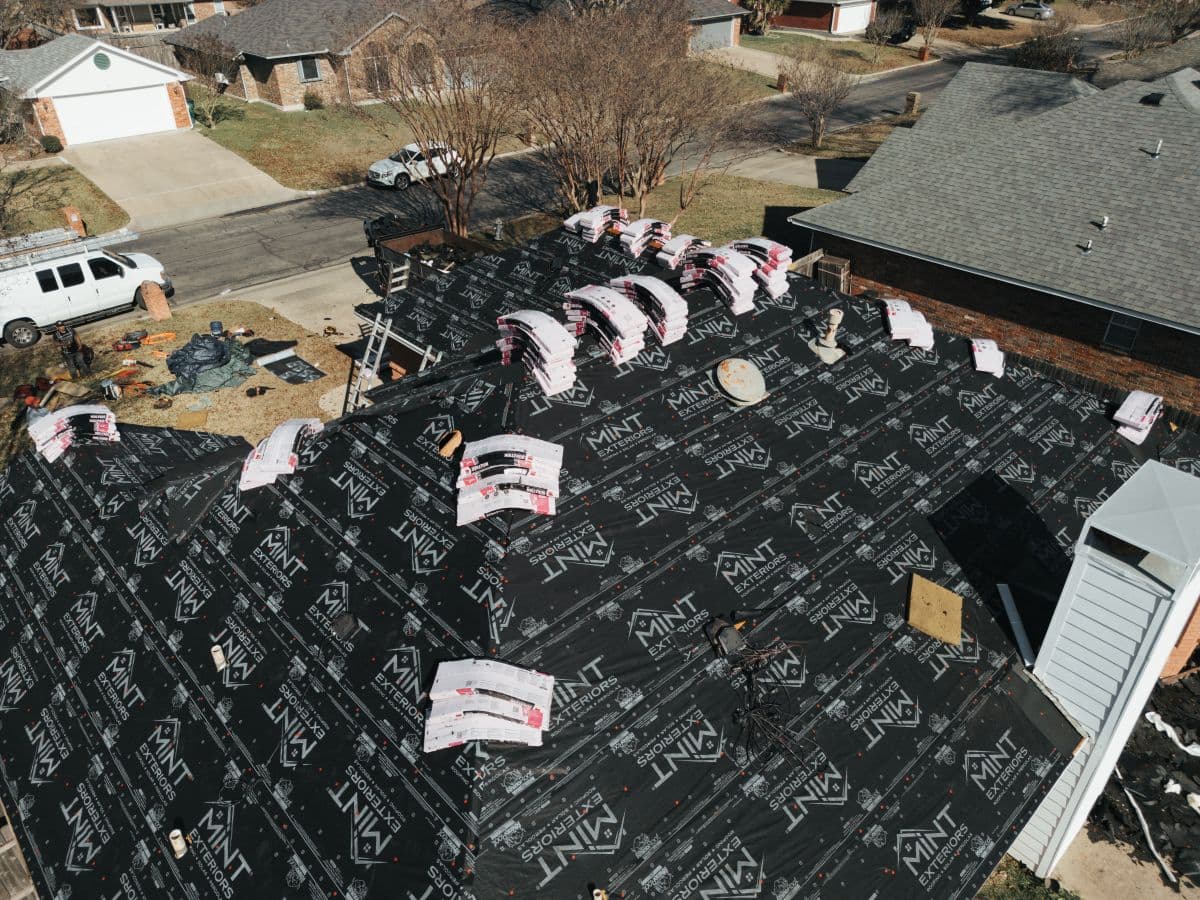
Roof Replacement
The Roof Replacement Process: 7 Stages From Start to Finish
Few home improvement projects feel as overwhelming as a full roof replacement, mostly because homeowners rarely know what to expect once they say yes to a quote. Understanding the roof replacement process from start to finish helps you plan around the work and spot a contractor who’s cutting corners before it becomes a problem.
Whether you’re dealing with storm damage or simply replacing an aging residential roof, this guide walks through what actually happens on a typical project. Here’s what we’ll cover:
- What happens during the initial inspection and estimate
- How material selection and permitting fit into the timeline
- What to expect on tear-off and installation day
- How cleanup and final walkthroughs are handled
- What can extend or shorten the overall timeline
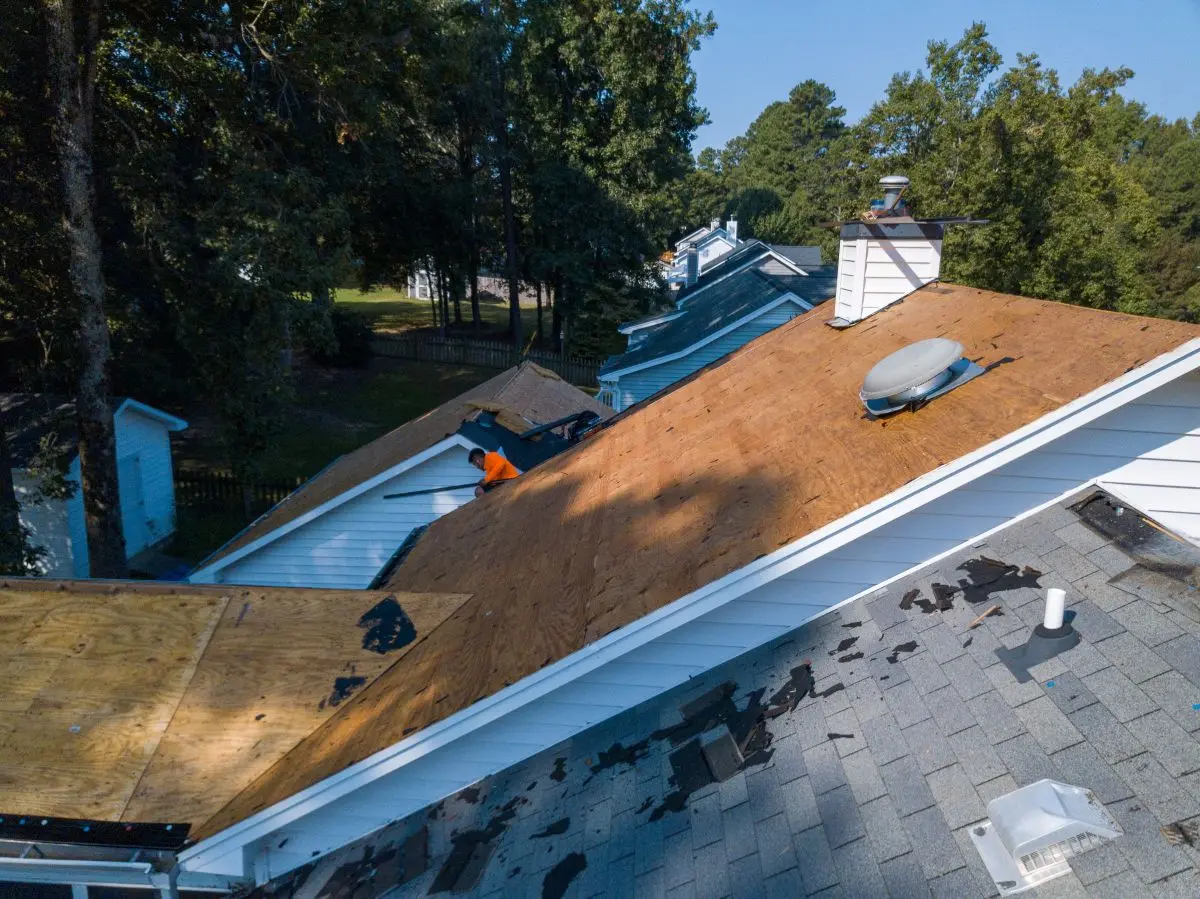
7 Stages From Start to Finish
Every roof replacement follows a similar sequence, even though the specifics vary by home size, material, and weather. Here’s how a typical project unfolds from the first phone call to the final walkthrough.
- Inspection and assessment: A roofing contractor examines the current roof for damage, checks the decking and flashing, and documents findings with photos, especially if an insurance claim is involved.
- Material selection: Homeowners choose a roofing material, such as architectural shingles or metal panels, along with color and warranty tier based on budget and climate.
- Permits and insurance coordination: The contractor pulls any required permits and, if applicable, works directly with the insurance adjuster to confirm the scope and cost.
- Scheduling and site prep: Materials are ordered, a start date is confirmed, and the crew stages dumpsters and protective coverings for landscaping and driveways.
- Tear-off: The old roofing material is removed down to the decking, and any damaged wood is identified and replaced before new material goes on.
- Installation: Underlayment, flashing, starter shingles, and the new roofing material are installed according to manufacturer specifications to protect the warranty.
- Cleanup and final walkthrough: The crew removes debris, runs a magnetic sweep for stray nails, and walks the property with the homeowner to confirm everything meets expectations.
Why Following These Stages Matters
Skipping steps, or rushing through them, is where most roofing problems start. A contractor who skips a thorough inspection might miss rotted decking that leads to a leak within a year, and one who skips permitting can leave a homeowner without recourse later. Each stage protects the investment, not just the timeline.
Signs It’s Time to Start the Roof Installation Process
Most homeowners don’t wake up one day and decide to replace a roof. Usually, a few warning signs build up first.
- Roof age: A roof typically lasts 20 to 25 years depending on the material, so homes approaching that range are good candidates for a new roof installation even without visible damage.
- Curled or cupped shingles: Curled shingle edges indicate deterioration and commonly show up on aging asphalt shingles, especially on slopes with the most direct sun exposure.
- Granule loss: Bald spots on shingles or granules collecting in gutters signal the roofing material is wearing thin and may need to be part of an upcoming roofing project.
- Sagging roof deck: A roof deck that feels soft or dips between rafters can point to trapped moisture or structural damage that needs attention before a new roof installation begins.
- Damaged roof vents: Cracked, rusted, or blocked roof vents can trap heat and moisture in the attic, shortening the lifespan of the roof system.
- Expiring warranty coverage: Warranties usually include manufacturer and workmanship guarantees, and checking remaining coverage can help homeowners decide whether repairs or a full roof installation process makes more sense.
What Affects the Cost of a Roof Replacement
Two homes with the same square footage can end up with very different quotes, and it usually comes down to a few factors beyond the material itself.
- Roof complexity: Roofs with multiple slopes, dormers, or valleys take longer to install and require more precise cutting than a simple gable roof.
- Material tier: Basic three-tab shingles cost less than architectural or premium shingle lines, and metal or specialty materials sit at an even higher price point.
- Decking condition: Rotted or damaged decking discovered during tear-off adds material and labor costs not always visible during the initial inspection.
- Accessibility: Steep roofs, tall homes, or limited driveway access can require additional equipment or safety measures that affect the final price.
- Local permit fees: Permit costs vary by city and are typically passed through to the homeowner as part of the overall project cost.
Getting a detailed, itemized quote upfront helps avoid surprises once tear-off begins.

Typical Timeline for Each Stage
Seeing how long each stage usually takes can help you plan around the project.
| Stage | Typical Duration | Who’s Involved |
| Inspection and estimate | 1 to 2 hours | Contractor |
| Material selection | 1 to 5 days | Homeowner and contractor |
| Permits and insurance | 1 to 3 weeks | Contractor, city, insurance adjuster |
| Scheduling and prep | 1 to 2 weeks | Contractor and material suppliers |
| Tear-off and installation | 1 to 3 days | Roofing crew |
| Cleanup and final walkthrough | Same day as installation | Crew and homeowner |
Timelines can shift based on weather, material availability, and how quickly insurance paperwork moves, so these figures are a general guide rather than a fixed schedule for your home.
How to Prepare Your Home Before Replacement Day
A little preparation on the homeowner’s end can help the project move smoothly.
- Clear the driveway: Roofing crews need space for dumpsters, delivery, and parking, so moving vehicles out of the way in advance helps avoid delays.
- Protect outdoor items: Move patio furniture, grills, and potted plants away from the house, since debris can damage anything left too close to the walls.
- Secure items indoors: Vibrations from tear-off and installation can shake pictures and shelved items, so it’s worth taking down anything fragile beforehand.
- Plan for pets and noise: Roofing work is loud, so pets may be more comfortable elsewhere for the day if they’re sensitive to unfamiliar noise.
- Ask about your specific timeline: Every home and crew is different, so a quick conversation with your contractor beforehand helps set accurate expectations.
What Can Affect Your Timeline in Mansfield, TX
Homeowners in Mansfield, TX deal with hot summers, sudden hailstorms, and occasional high wind events, all of which can influence how a roof replacement project is scheduled and executed.
- Storm season demand: Contractors in our area often see a surge in requests after major hail or wind events, which can extend scheduling during peak season.
- Summer heat: Extreme heat can affect certain adhesives and sealants, so some contractors adjust work hours during the hottest parts of the day.
- Permit processing: Timelines for permits vary by city, and homeowners should expect this step to take longer during high-demand seasons.
Roofing crews aren’t just racing the clock on cost. OSHA requires fall protection for anyone working 6 feet or more above lower levels during residential roofing activities, which is why a properly staffed crew takes time to set up guardrails or harnesses before work begins. That safety step is a normal part of a well-run project, not a sign of a slower crew.
We’re proud to serve home and business owners in Mansfield, TX and nearby communities with roof replacements, repairs, and a process that’s explained clearly from the first phone call to the final walkthrough.
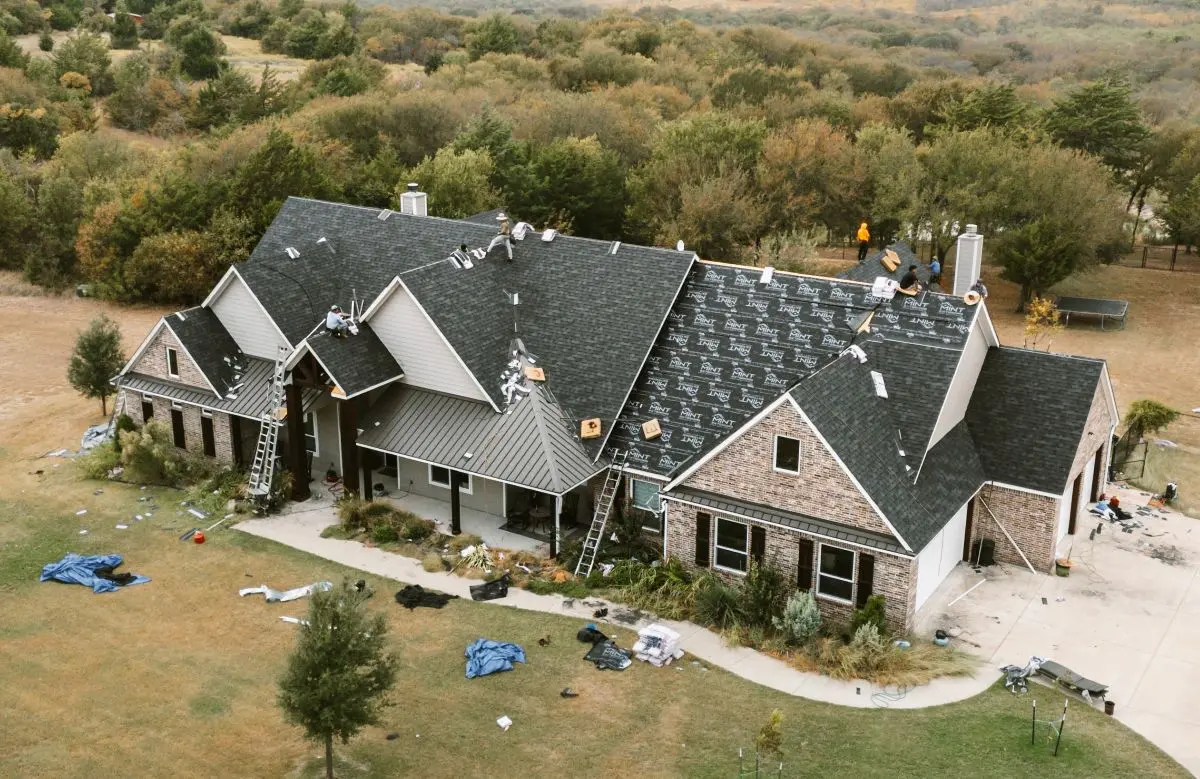
Frequently Asked Questions About the Roof Replacement Process
Homeowners preparing for a roof replacement tend to ask similar questions before the project begins. Here are answers to the ones we hear most often.
How long does a full roof replacement take?
Most residential roof replacements are completed in one to three days once the crew is on site, though the full process from inspection to final walkthrough, including permits and material ordering, typically spans several weeks.
Do I need to be home during the roof replacement?
It’s not required, but many homeowners choose to be available for the initial walkthrough and final inspection, since the crew may need access to the garage or attic for ventilation checks.
Will my roof replacement be covered by insurance?
If the damage is tied to a covered event like a hailstorm or wind damage, many policies cover some or all of the cost, and a contractor experienced in insurance claims can help document it properly.
What happens if the crew finds additional damage during tear-off?
It’s common to find some rotted decking or hidden damage once the old material is removed, since these issues aren’t always visible during the initial inspection. A reputable contractor will document any additional damage with photos and get your approval before proceeding rather than simply covering it up.
How soon can I get on the schedule after my inspection?
This depends on the season and current demand. During storm season, scheduling can take longer, while off-peak months often allow a quicker start.
A Straightforward Process From MINT Exteriors
A roof replacement doesn’t have to feel like a mystery. MINT Exteriors has walked homeowners across Texas and Oklahoma through this process since 2007, backed by Owens Corning Platinum Preferred status and a team that explains every stage clearly instead of leaving you guessing.
If you’re ready to get started, our team is happy to walk you through it during a free inspection. Schedule your free inspection with MINT Exteriors today and get a straight answer, not a sales pitch.